One of the best things about Sage X3 is its storage areas. These are vendor-managed dedicated logical server storage for hosting user files. You can upload anything from documents, images, business reports, and other work files for seamless collaboration, transfer, and easier file organization. If you’re curious how to create this dedicated storage and upload your existing files into the ERP software, we’ve got you covered. Keep on reading…
Creating & Managing Sage X3 Storage Areas
Follow the steps given below to create your own storage areas in Sage X3:
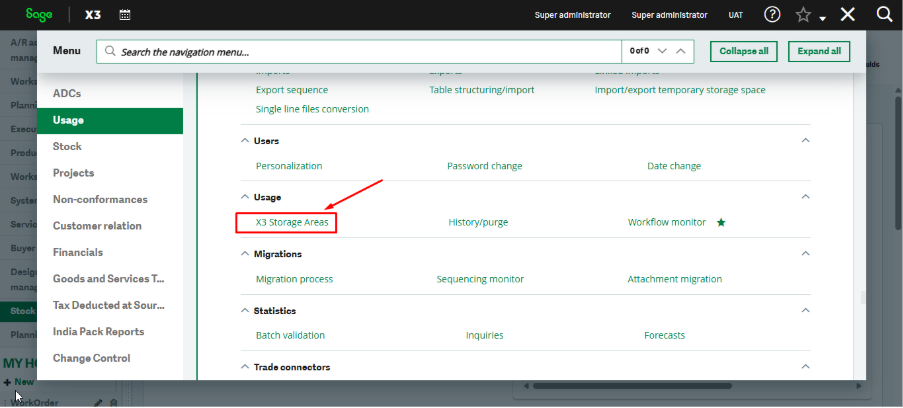
- Go to the Main Menu.
- Click on the Usage tab, followed by the X3 Storage Areas option.
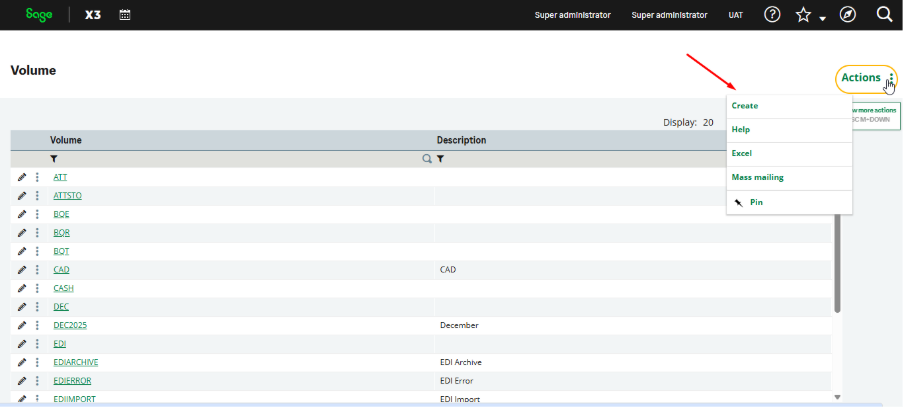
2.Click on the Actions icon on the top right corner, and select Create from the drop-down menu options.
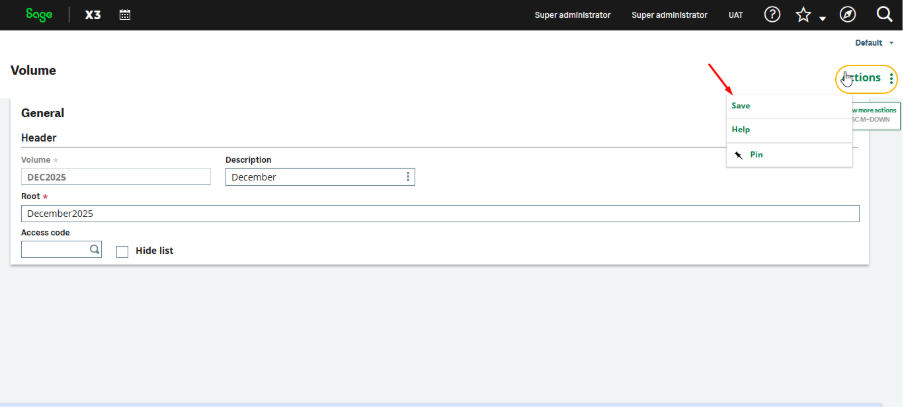
3. On the Volume screen, enter the header, description, and root, and then click Save.
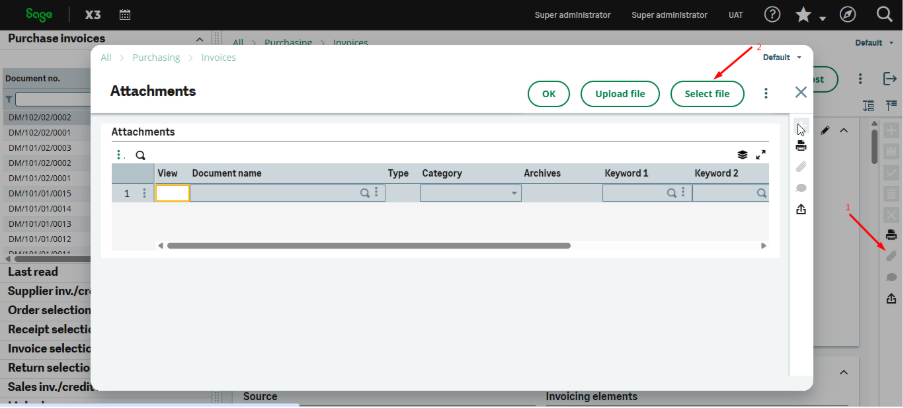
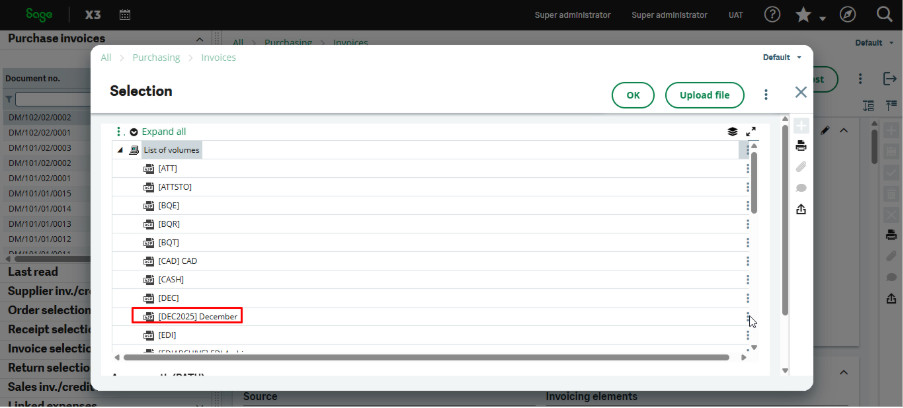
4. After creating the storage, click on Attachment, select the file, and then choose the storage folder to complete the attachment.
5. Click on the three-dot appearing ahead of your folder name, and then select New File to upload a new file or select an existing file.
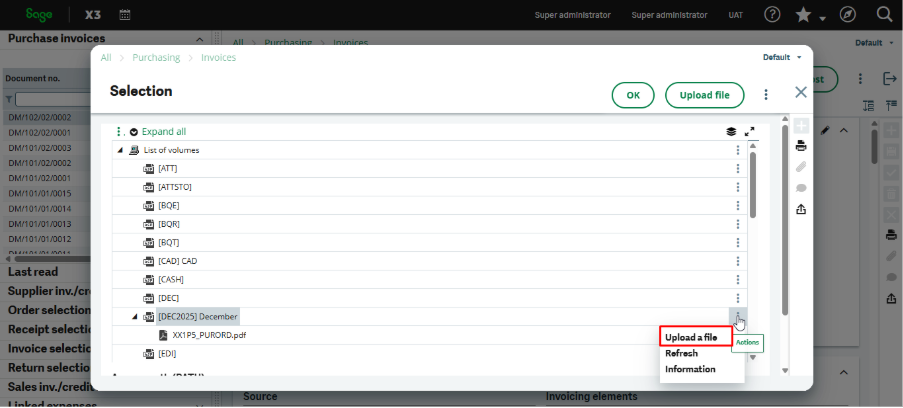
The files uploaded to the folder are accessible from other screens via this step.
Final Words
By following the above steps, users can successfully create storage areas in Sage X3, upload & manage their files, and make them accessible across multiple screens. This ensures centralized document management, supports multiple file formats, and improves overall efficiency and usability within the application.