The .pfx file, a PKCS#12 format, contains the SSL certificate (public keys) and the corresponding private keys. Sometimes, you might have to import the certificate and private keys separately in plain-text, unencrypted format to use them on another system. This topic provides instructions on how to convert the .pfx file to .crt and .key files.
Overview of the Process
HTTPS over SSL is an internationally recognised protocol for secure communication over a computer network, which is widely used for data transmission. HTTPS consists of communication over Hypertext Transfer Protocol (HTTP) within a connection encrypted by Transport Layer Security or its predecessor, Secure Sockets Layer. The main motivation for HTTPS is authentication of the visited website and protection of the privacy and integrity of the exchanged data. The following steps constitute an SSL transaction between a web browser (Web Syracuse client session) and a web server (Web Syracuse server).
Steps for Extracting Certificates and Keys from PFX
We’ve outlined the steps below to extract your CRT and keys from the PFX file to configure the SSL certificate:
- Ensure OpenSSL is installed on the server that contains the SSL certificate.
- Start OpenSSL from the OpenSSL\bin folder.
- Open the command prompt and go to the folder that contains your .pfx file.
- Run the following command to extract the private key:
openssl pkcs12 -in [yourfile.pfx] -nocerts -out [drlive.key
You will be prompted to type the import password. Type the password that you used to protect your keypair when you created the .pfx file. You will be prompted again to provide a new password to protect the .key file that you are creating. Store the password in your key file in a secure place to avoid misuse.
- Run the following command to extract the certificate:
openssl pkcs12 -in [yourfile.pfx] -clcerts -nokeys -out [drlive.crt]
- Run the following command to decrypt the private key:
openssl rsa -in [drlive.key] -out [drlive-decrypted.key]
Type the password that you created to protect the private key file in the previous step. The .crt file and the decrypted and encrypted .key files are available in the path where you started OpenSSL.
Convert .pfx file to .pem format
There might be instances where you might have to convert the .pfx file into .pem format. Run the following command to convert it into PEM format.
openssl rsa -in [keyfile-encrypted.key] -outform PEM -out [keyfile-encrypted-pem.key]
Note: Ensure that the name of the certificate file is drlive.crt and the private key file is named drlive.key. The renamed drlive.crt and drlive.key files must be updated for all three servers:
– liveAuthServer: <live-install-folder>\liveAuthServer\lib_serverconfig
– liveHomeServer: <live-install-folder>\liveHomeServer\lib_server\config
– liveRoomServer: <live-install-folder>\liveRoomServer\lib_server\config
Implementing the SSL Certificate into Sage X3
This is done by navigating to the Administrator >> Certificates function in Syracuse:
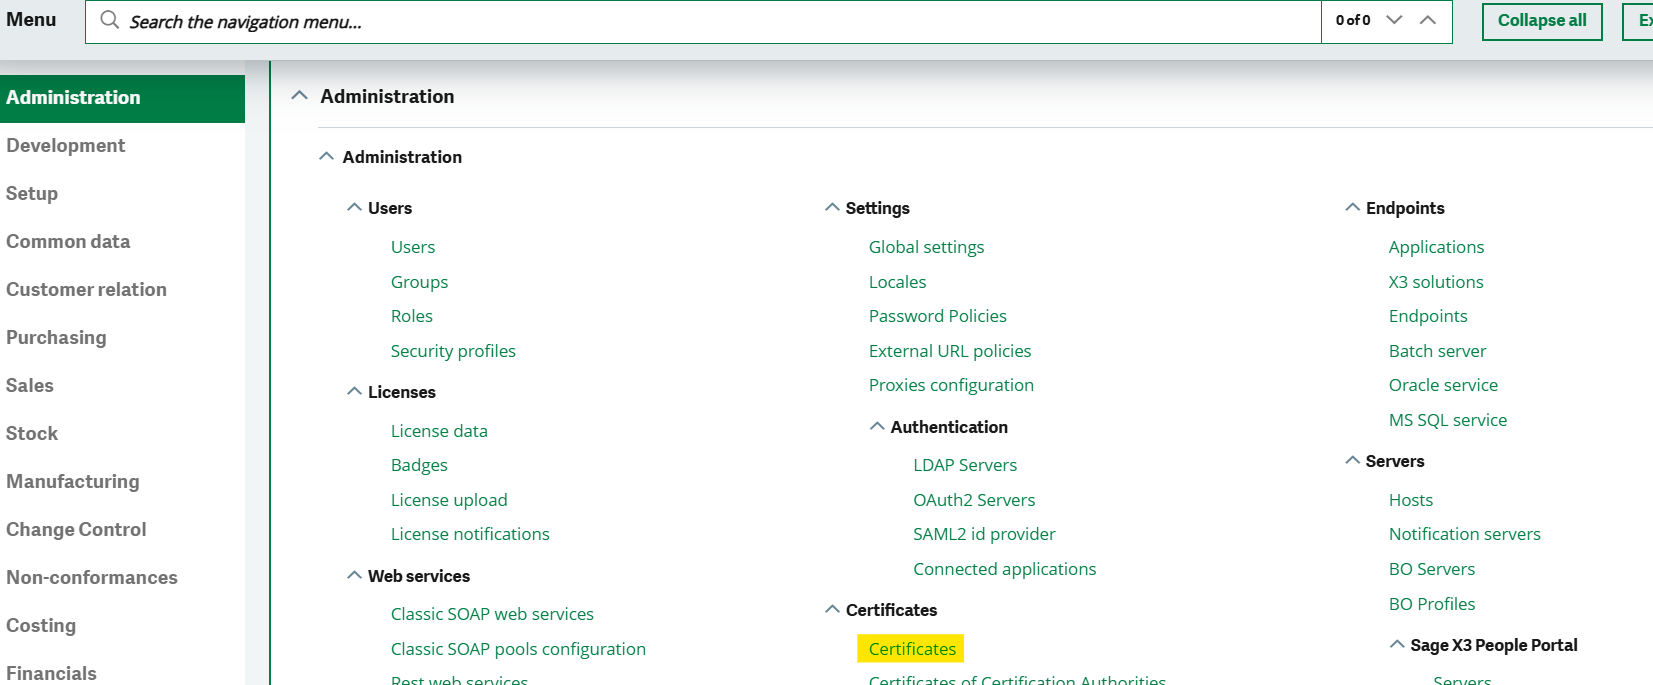
Select the “Create New certificate” option to create and upload a new certificate into sage X3.
You will get the following window where you can upload your Certificate, i.e., (.Crt) file, and Private Key, i.e., (.Key) file.
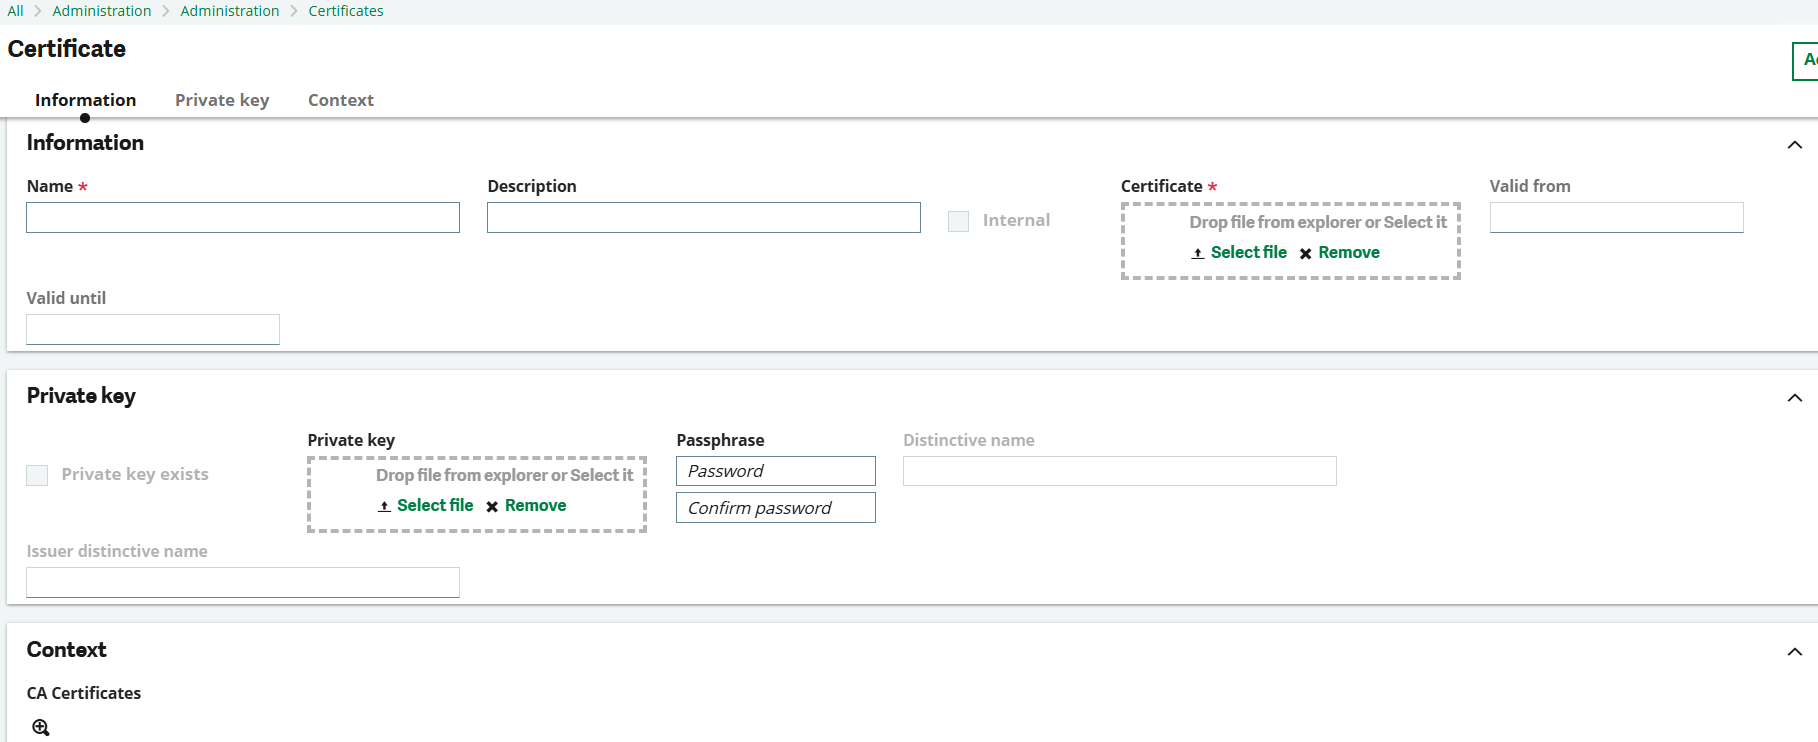
This will complete the registration of the certificate.
Set Up Syracuse Hosts For HTTPS Communication Over SSL
Once the intermediate CA certificate is registered in Syracuse, the hosts have to be set up to use the new certificate.
To do the steps, navigate to the Application >> Host. Need to host your created certificate on port 443 or 7777.
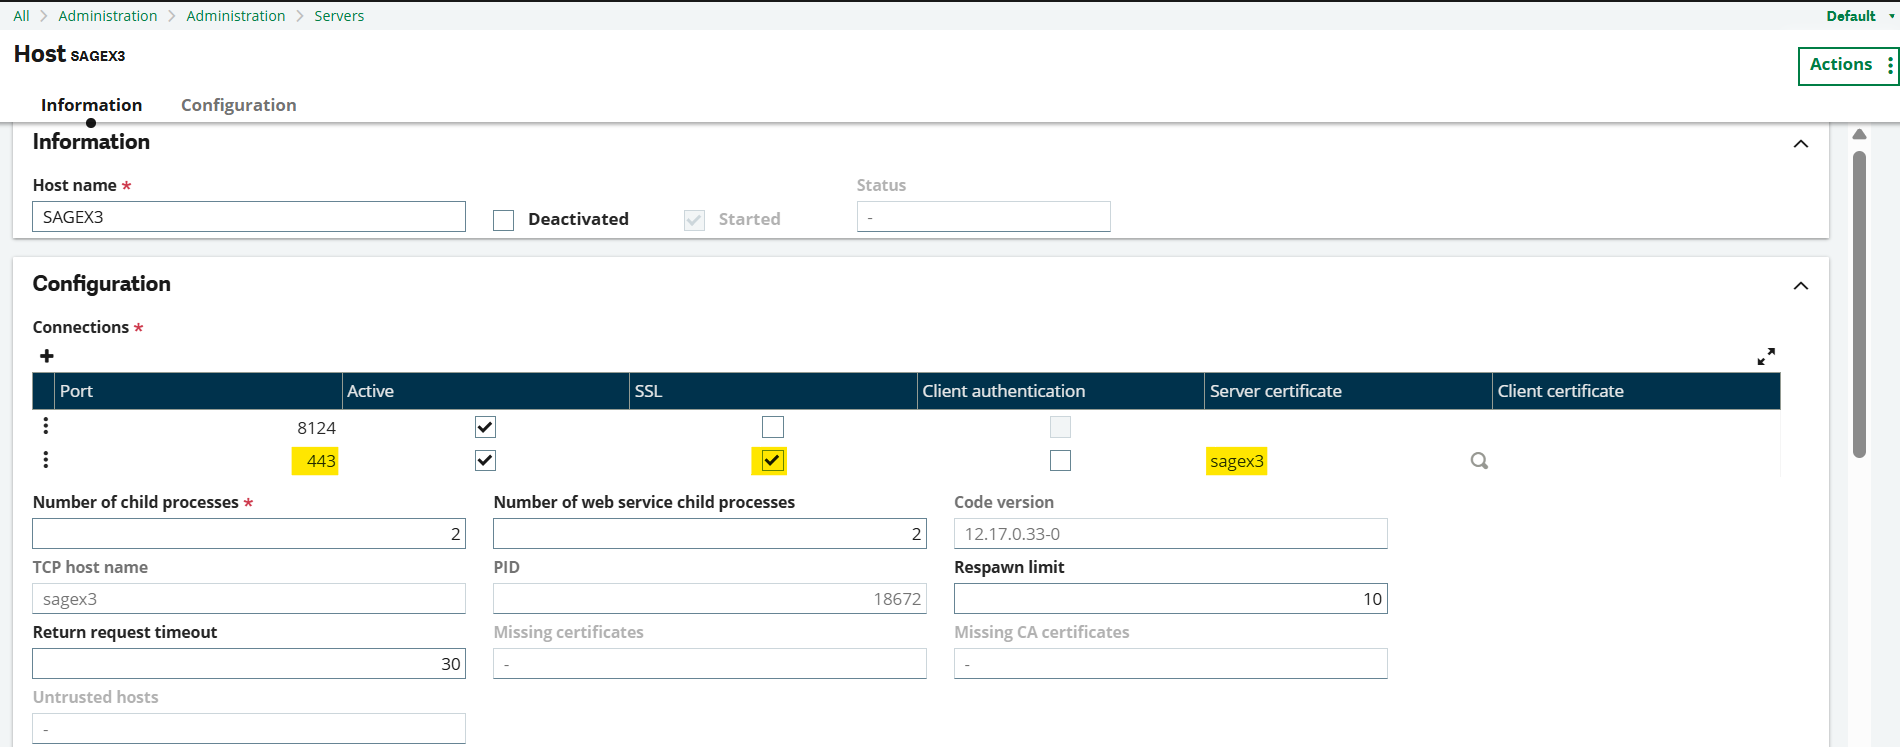
There are two options at this point: the standard SSL port (443) can be used, or we can assign a custom port (7777). Ensure that the SSL tick box is selected and the certificate that was registered in the previous step is populated.
Final Words
In this blog, we provided a comprehensive guide to configure your SSL certificate with the Sage X3 Syracuse. This helps you secure your website and ensure the security of the communication and confidential data over a computer network.