Summary : A bill of entry is a legal document that is filed by importers or customs clearance agents on or before the arrival of imported goods. It’s submitted to the Customs department as a part of the customs clearance procedure. Once this is done, the importer will be able to claim ITC on the goods. The bill of entry can be issued for either home consumption or bond clearance. When it is issued for bond clearance, the bond number and date of issuance should be included.
To enable Bill of Entry (BOE) optional field navigate to GST module -> Setup-> Options.
There you can see the “Create optional fields” button
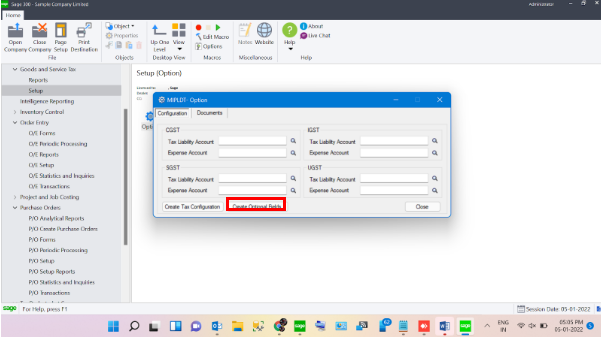
Tapping this button will create optional fields.
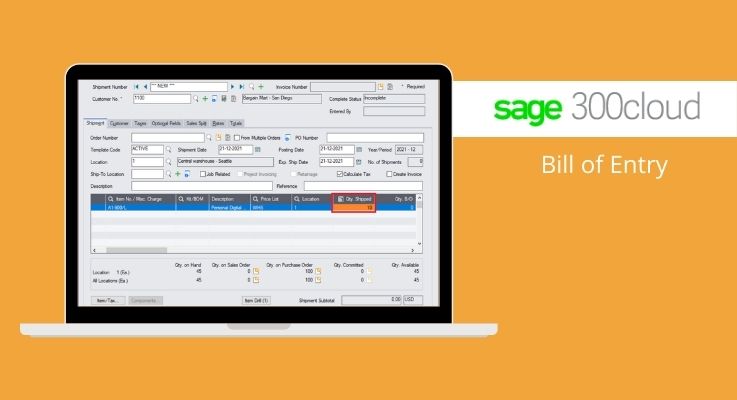
Bill of entry in sage 300 Cloud : Bill of entry in sage 300 Cloud refers to entries made in Accounts payable module of Sage 300 which includes invoice and payment entries.
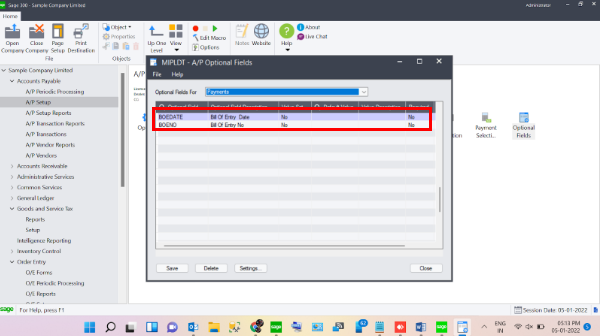
Now we need to enter the optional fields in Accounts payable. You can do so by following the steps.
To add optional field of BOE in A/P Invoices:
1)Open A/P module
2)Go to A/P Setup
3)Open Option fields
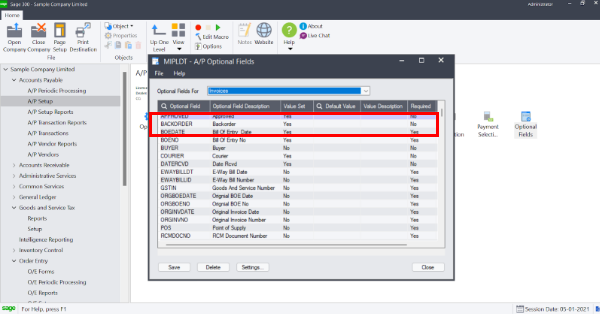
4)Select Invoices in Optional fields for Section
5)Insert both Optional Fields namely “BOEDATE” and “BOENO”
Repeat the steps to add the Optional fields in Payment.
Now You can view the Bill of entry date and Bill of entry number in the optional fields while creating an entry.
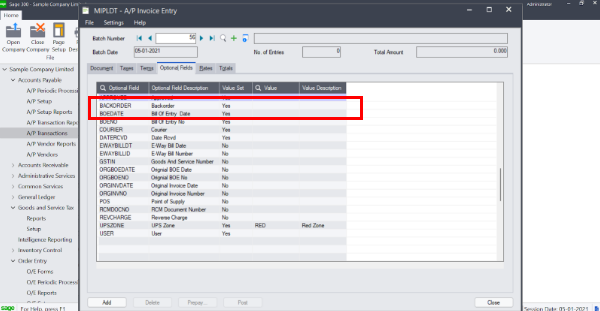
To view and enter details in optional field, open an invoice entry in A/P invoice screen, click Optional Fields tab there you can see both of the optional fields where you can add details to them.
Bills of entry is used to create a invoice against our vendor and to make a payment against the same invoice. Let consider a sample company named SAMLTD. In SAMLTD let’s assume we purchase some inventory from a Vendor , with vendor number 1200 for a price of $2000. To generate this entry for records in our accounting system we begin by making a Invoice entry against the vendor (Vendor 1200) for the specified item ( in our case purchase of inventory). This can be done by following steps :
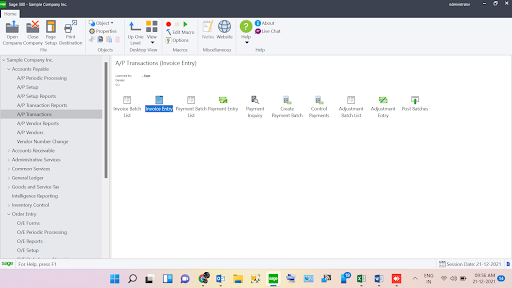
1)Open the Accounts Payable module
2)Navigate to AP Transactions
3)Open invoice entry screen
The following screen will open :
- Batch Number- Batch number is the number of the batch in which the entry is being created.
- Vendor number – Vendor number is a mandatory field as you have to mention against which vendor is the invoice being created.
- Document number – Document number is also a mandatory field which you have to enter manually. Document number is the number of document against which the invoice is being created you can enter the number manually to create a new document.
- Detail line section : In this section you enter the entries and details of entry such as Distribution code , G/L account , Amount etc
- Document Total : In this felid you enter the document total to make the undistributed amount to be “0”. Which will then let you add the entry without the warning.
- Amount : This is the total amount which is payable to vendor for the purchase we made.
- Undisturbed amount: This amount refers to total balance of the invoice you need to make it zero so that the system will let you post the entry
After following the above steps you need to click the add button and add another entry if you want to do so and then you can post the invoice after entering all the entries you want
Next part of bill of entry is the Payment transaction : As the name mentions in this part we will pay the vendor against the invoice generated against it.
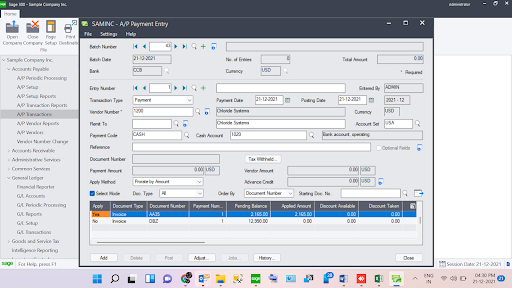
This is how the payment screen looks like, as you can see in this screen we are paying the vendor with vendor number 1200 a sum of $2000 for purchase of inventory. In this screen you can see all the pending invoices against a particular vendor. In our case we have two different invoices pending against vendor 1200. To pay off a particular invoice ,you can turn change the “NO” under apply heading of the invoice to “YES” this will result in payment by whichever mode you selected in the above screen.
Together both Invoice entry and payment entry constitutes the Bill of Entry in sage 300.