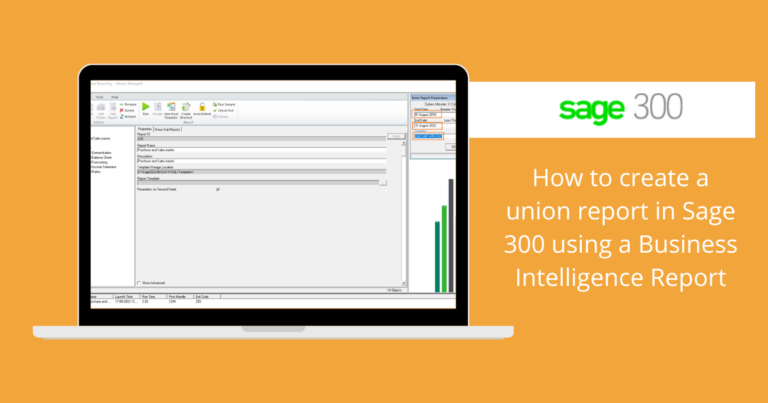
Union Report in Sage 300 using a Business Intelligence Report
Business Intelligence Reporting is an Excel-based reporting tool that gathers data from every module in your Sage 300 system which allows users to slice, dissect, and analyze the figures in a comfortable spreadsheet environment.
In this Blog, we will show you how to create a union report using a business intelligence report in Sage 300.
A union report is basically used to join two or more reports at a time to gather the report information in one excel workbook.
Report manager is used to managing all of your Business Intelligence reports in Sage 300, right from standard reports to your customized reports.
In report manager, to create a Union report make a copy of the standard report you would like to combine to make a union report.
Here, for example, we will join the Purchase and Sales master report for which we need to make a copy of the standard report.
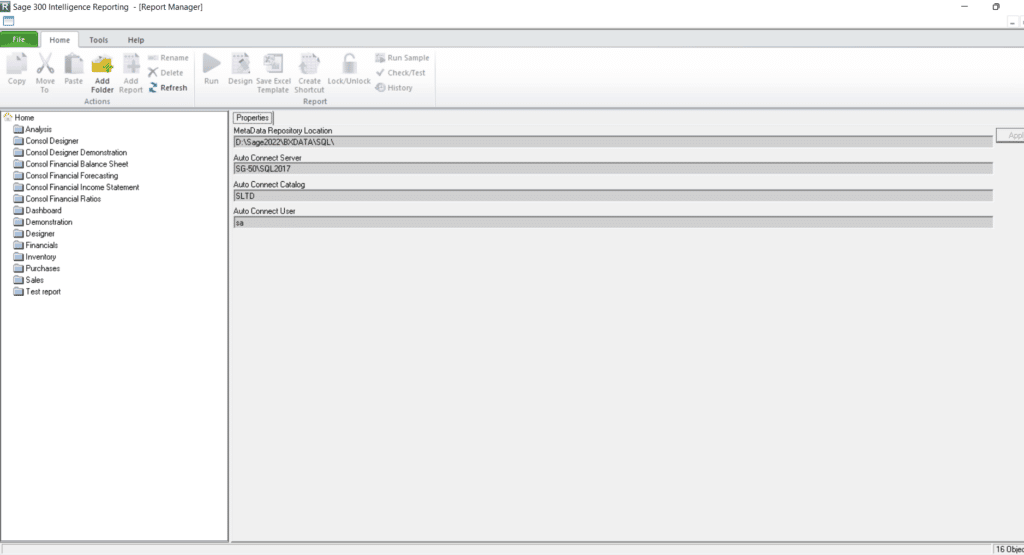
To open Report manager navigate to the below-mentioned path.
Sage 300 → Intelligence Reporting → Report manager
Below is the Image for your reference.
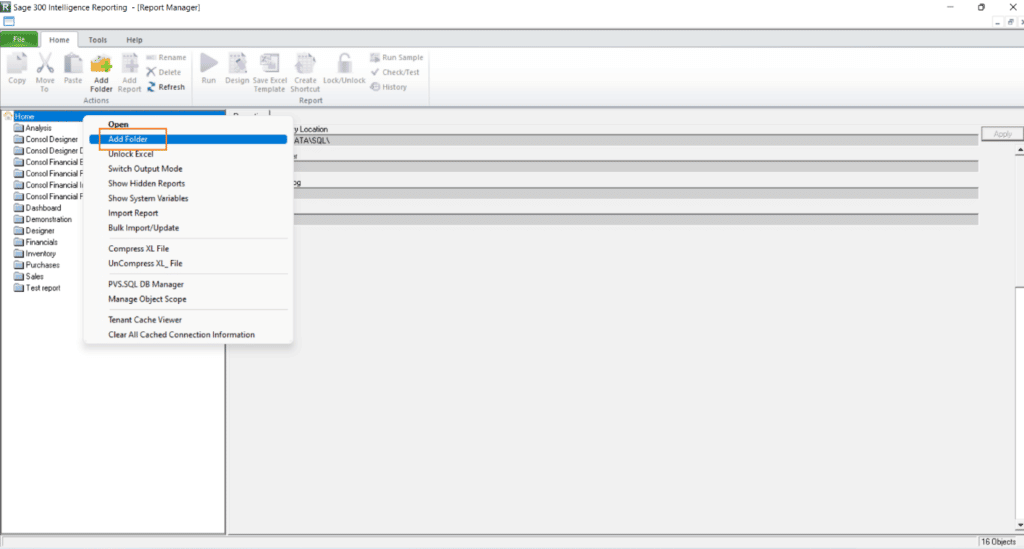
Now, we will Join two reports i.e. Purchase and Sales master using the Union Report option.
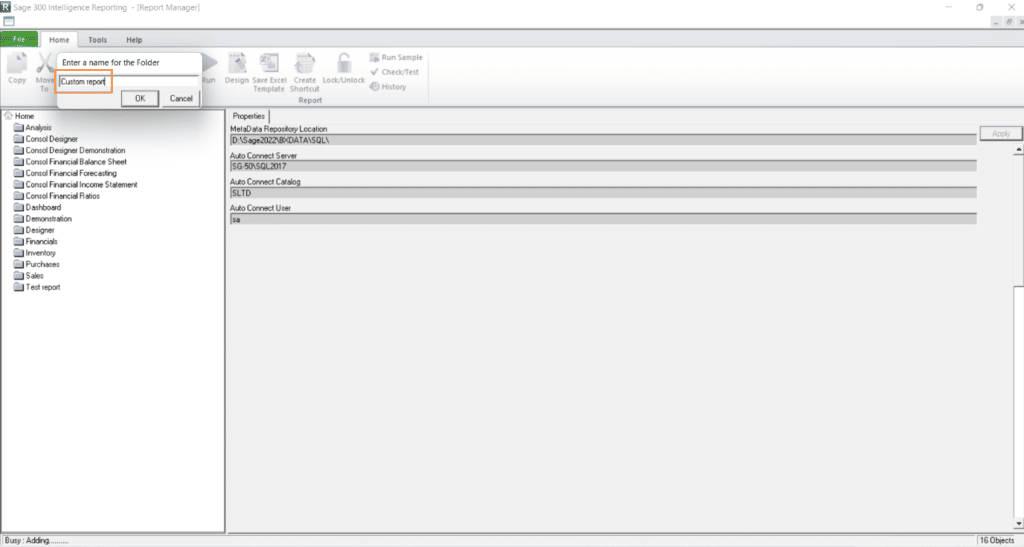
Right-click on the Home and then click on the ‘Add Folder’ to create a new folder. Here, we will keep the folder name as ‘Custom report’ and then click on ‘OK’ to add the folder to the Report manager.
Below are the images for your reference.
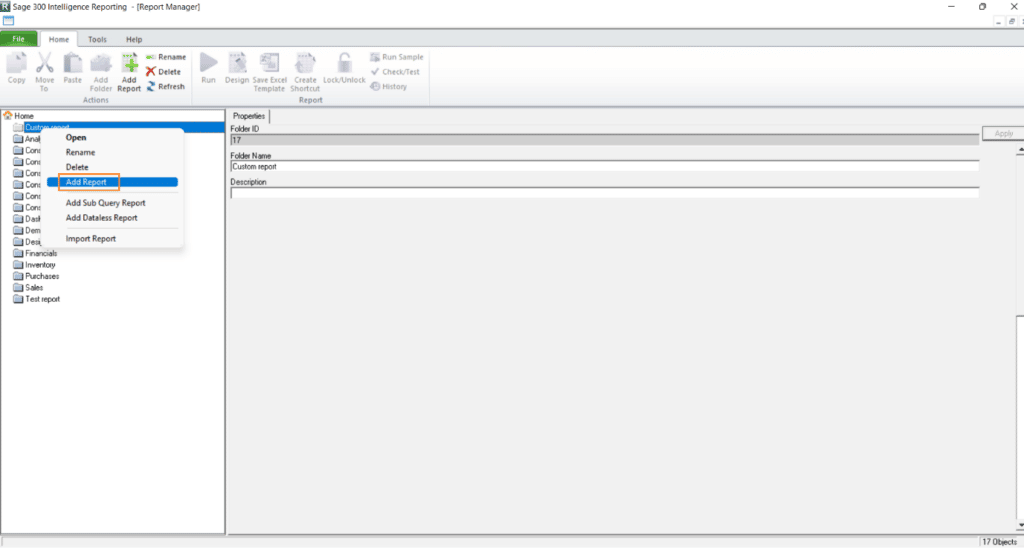
After that, we will add a Union report in that folder which we had created i.e. Custom report.
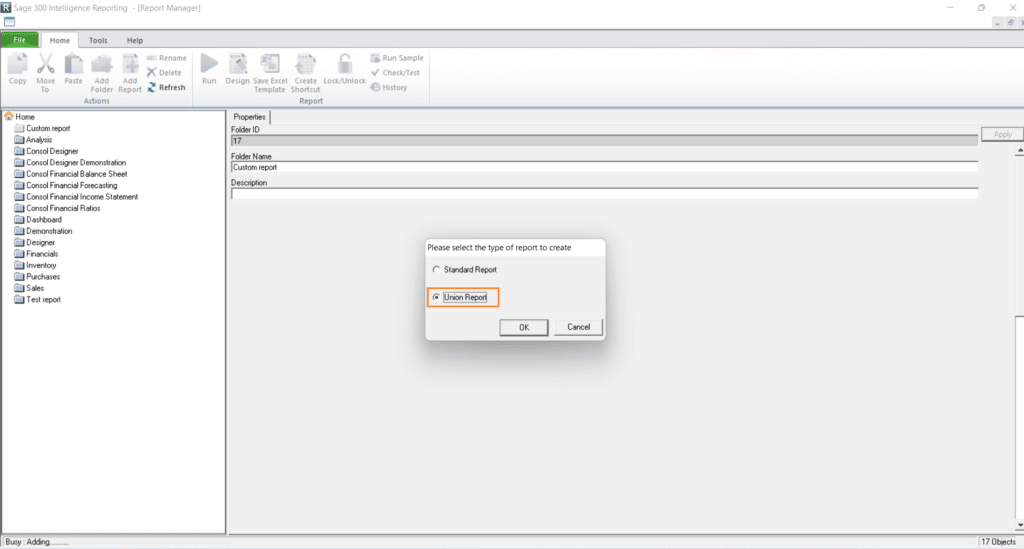
To do so right click on the ‘Custom report’ folder and click on the ‘Add report’ to add a Union report and then click on ‘OK’.
Below is the image for your reference.
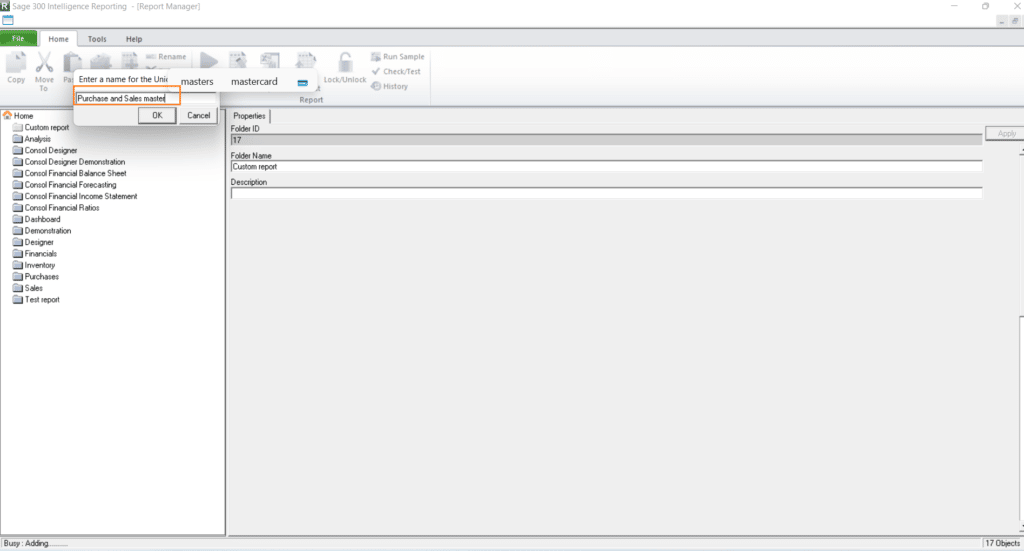
After clicking on OK we have to mention the name of the report. Here, we will keep the name ‘Purchase and Sales master’ and then click on the OK.
Below is the image for your reference.
Then select the Purchase master and Sales master report from the list that pop-up on the screen and then click on ‘OK’ to add the report to that folder.
Below is the image for your reference.

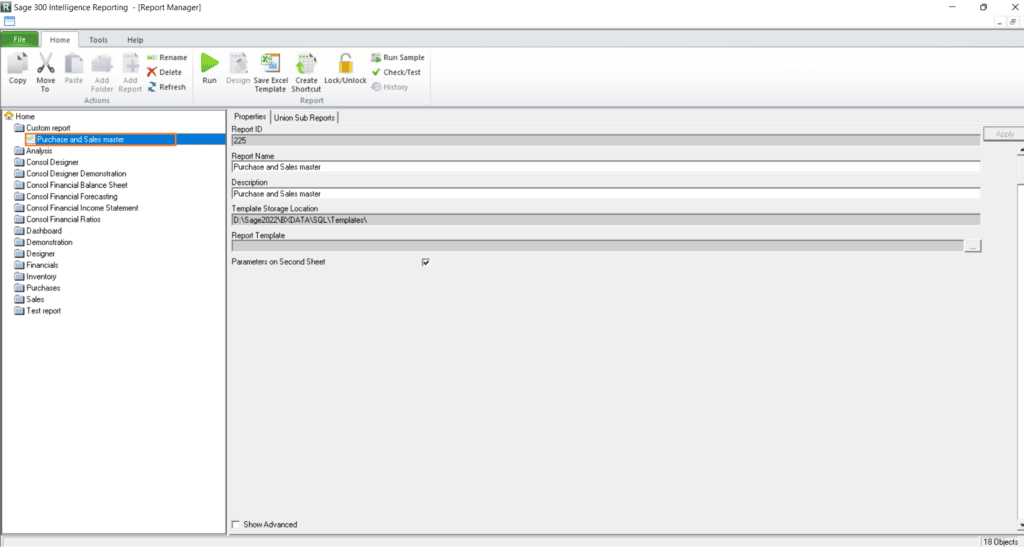
Now, the report is available under the ‘Custom report’ folder named as ‘Purchase and Sales master report’ which we have created.
Below is the image for your reference.
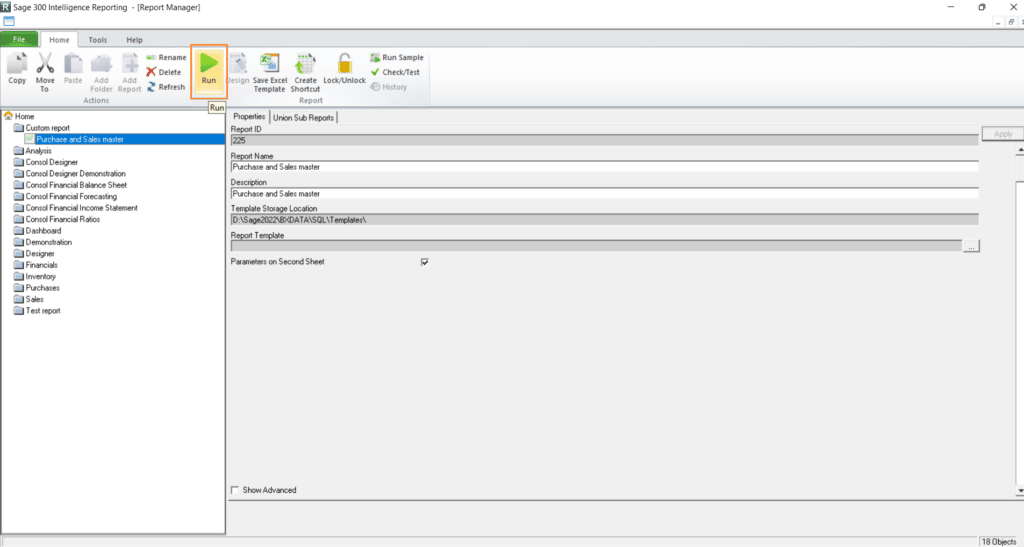
To Run, the Union report i.e. Purchase and Sales master report which we have created, first click on the report and then click on the Run icon.
Below is the image for your reference.
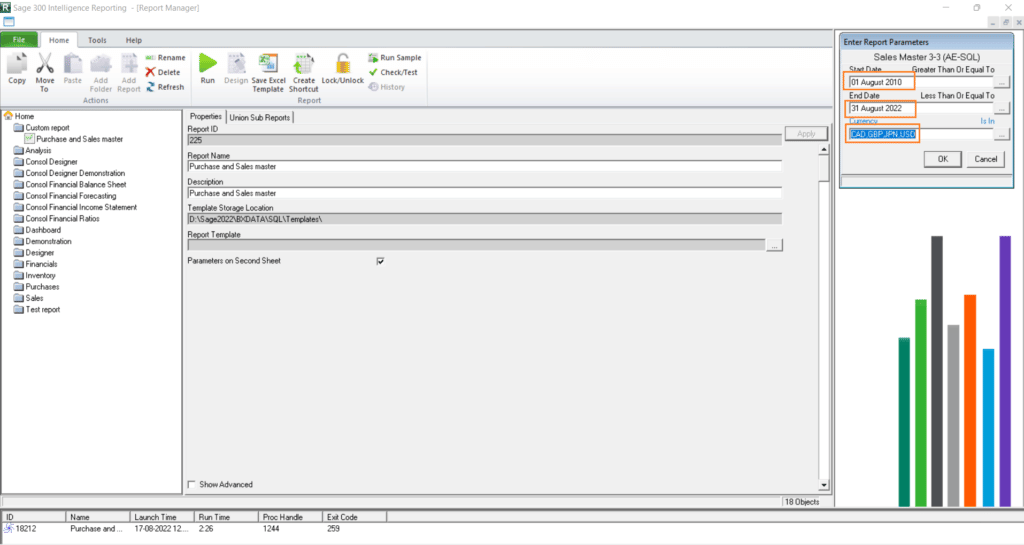
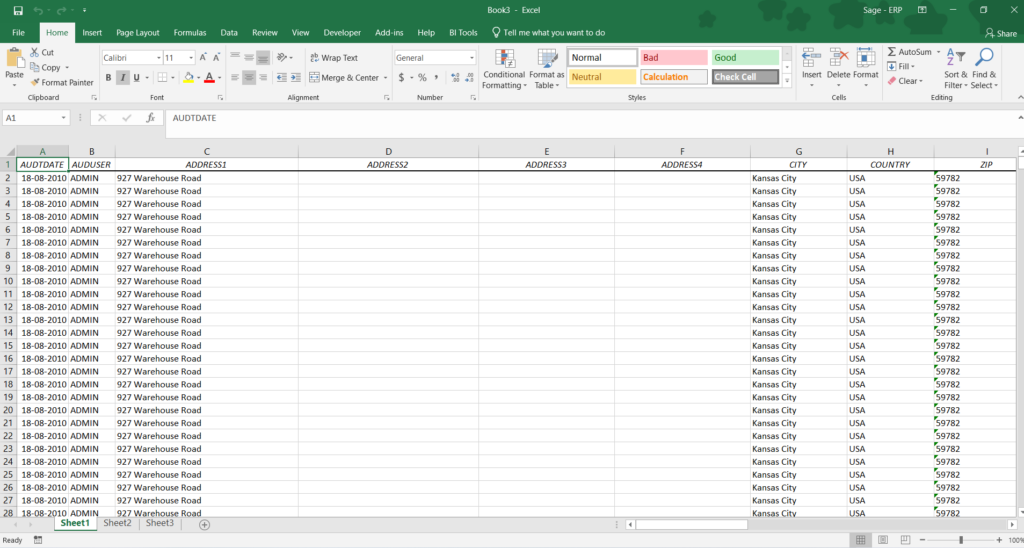
Then enter the ‘Start date’, ‘End Date’, and ‘Currency’ and click on OK to print the report in an Excel file.
Below is the image for your reference.
So, in this blog, we have shown you how to create a Union report using a Business Intelligence report in Sage 300.