How to control Item Pricing in Sage 300
In Sage 300 ERP, there are many features available with each screen.
One such feature is the Price check feature which is available in the I/C Price List Codes screen in the Inventory Control module.
In the I/C Price List code screen, we can add price list codes to identify price lists, set default options for customer discounts and mark up for items you later assign to the price list.
Similarly, there is one screen named Price Check, which is used to check price overrides in order entry for orders that uses specified price list.
To use this feature navigate in Sage 300 ERP as follow:
Inventory Control à I/C Setup à I/C Price List Codes à Price Check tab.
Refer below Screenshot for your reference.
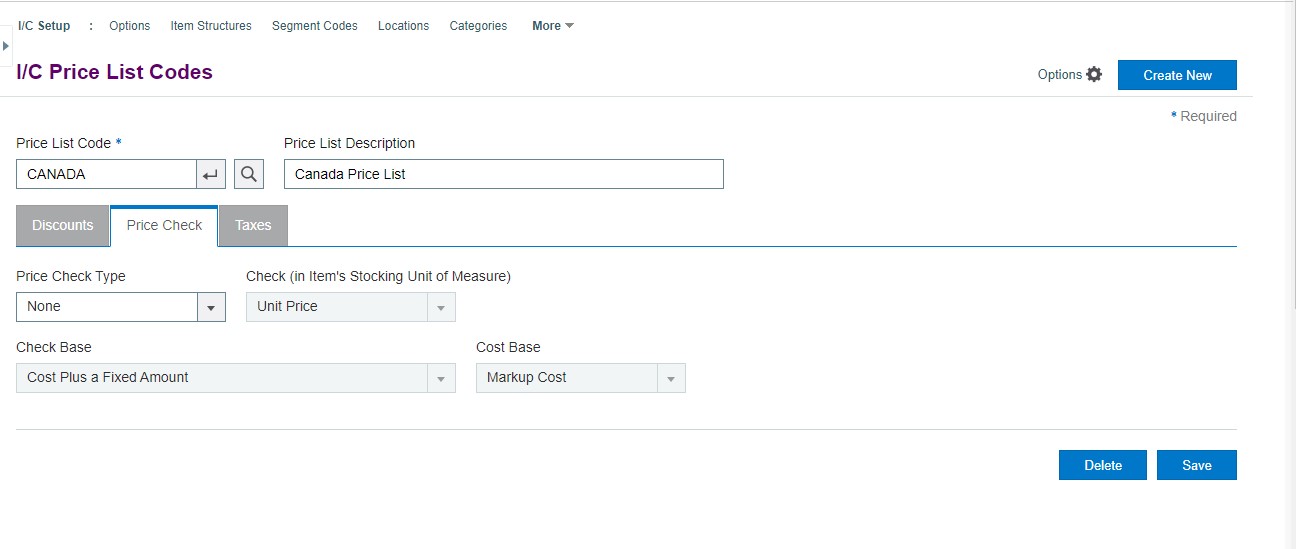
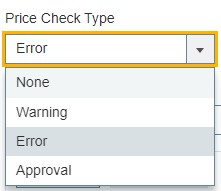
In the above screen, you will see an option that is Price Check Type which decides how you want order entry to respond to price overrides. There is a total of four options available under Price Check Type as follows:
- None
- Warning
- Error
- Approval
None:
If you choose None for the Price Check Type, the Price Check tab remains blank and indicates the system to do nothing whenever a price override happens.
Warning:
If you choose Warning for the Price Check Type, then the system displays a warning message indicating price override and lets you continue with it.
Error:
If you choose Error for Price Check Type, then the system will display an error message and rejects the price override that happens at the transaction level.
Approval:
When the option at Price Check Type is set as Approval, then the system will force you to get a supervisor’s approval on price overrides.
When the Price Check Type option is set as Warning, Error, or Approval then, the Price check tab gets enabled with additional settings listed below which define which parameters and factors the price override will be identified.
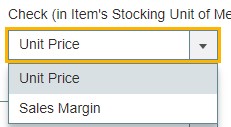
Check (in item’s Stocking unit of measure): This option allows you to choose whether the check should be done on the unit price or the sales margin.
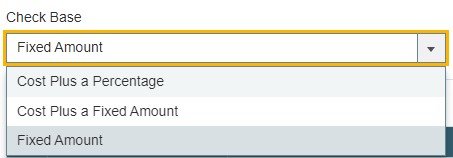
Check Base: If you decided to put a check on a unit price basis then using this option you can check that the price falls within a percentage range of the cost, an amount range on the cost, or within a fixed range.
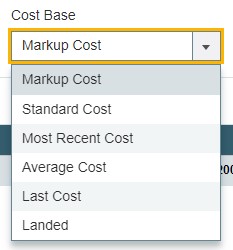
Cost Base: Using this option you can choose the cost on which an acceptable range of unit price or sales margin will be calculated. This field will not be available if you choose a fixed amount in the Check base field.
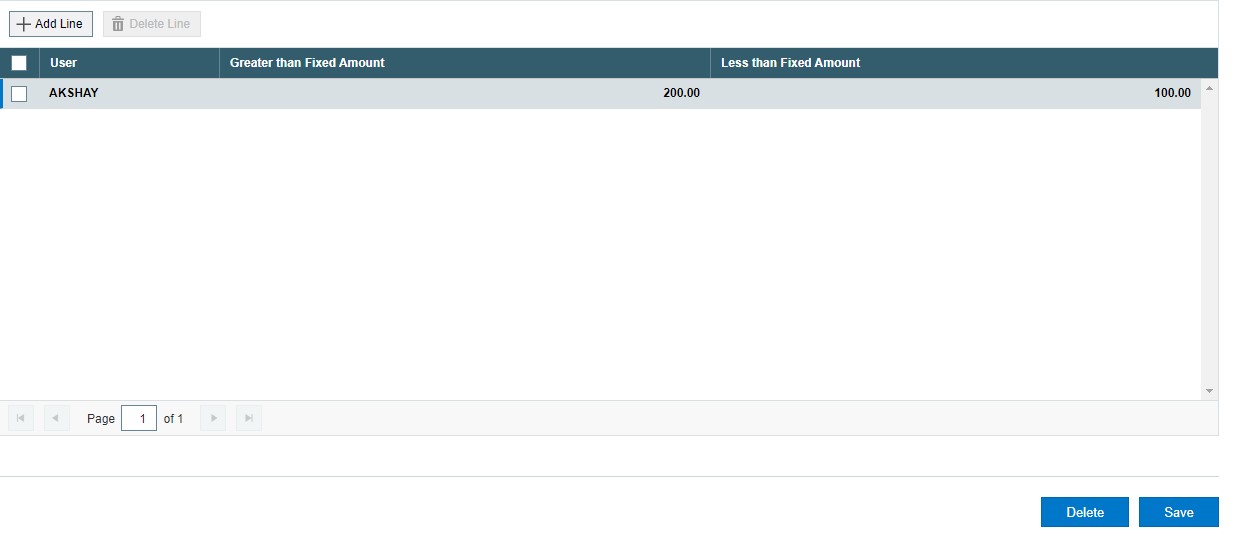
At the bottom of this screen, you will see a detailed table where we can specify the range of prices available user-wise.
In the User ID column, you can specify the user ID for whom the price check needs to be done. An acceptable range of amount or percentage needs to be defined in the Greater than and Less than columns.