
In Sage300 v2023, you might encounter an issue that states “No Supported Databases Are Set Up” on the terminal server.
In the previous blog, we have seen that to resolve this issue we were required to grant permissions to the user folder. You can find the blog on the following link: https://www.sagesoftware.co.in/blogs/no-supported-databases-are-set-error/
If the issue still doesn’t get resolved, then the following procedure may be helpful to you :
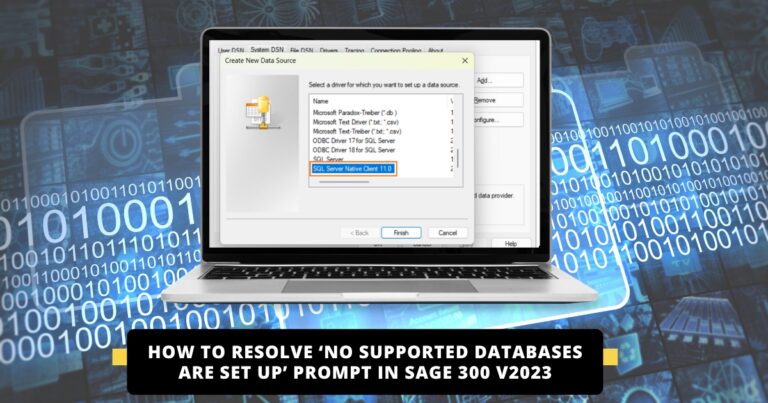
How to Resolve ‘No Supported Databases Are Set Up’ prompt in Sage 300 v2023
Even though all the ODBCs are configured on the terminal server.
With the recent product update in Sage 300 v2023, there has been a notable change in how user credentials are managed. Previously, user credentials were stored and maintained through .ism files. However, the latest release has introduced a more efficient method by centralizing user authentication and credential management within the database itself. In Sage 300 v2023 PU2’s latest update, two distinct databases, known as the Vault and the Store, have been implemented to store user credentials and related information.
Below is the prompt image for your reference – 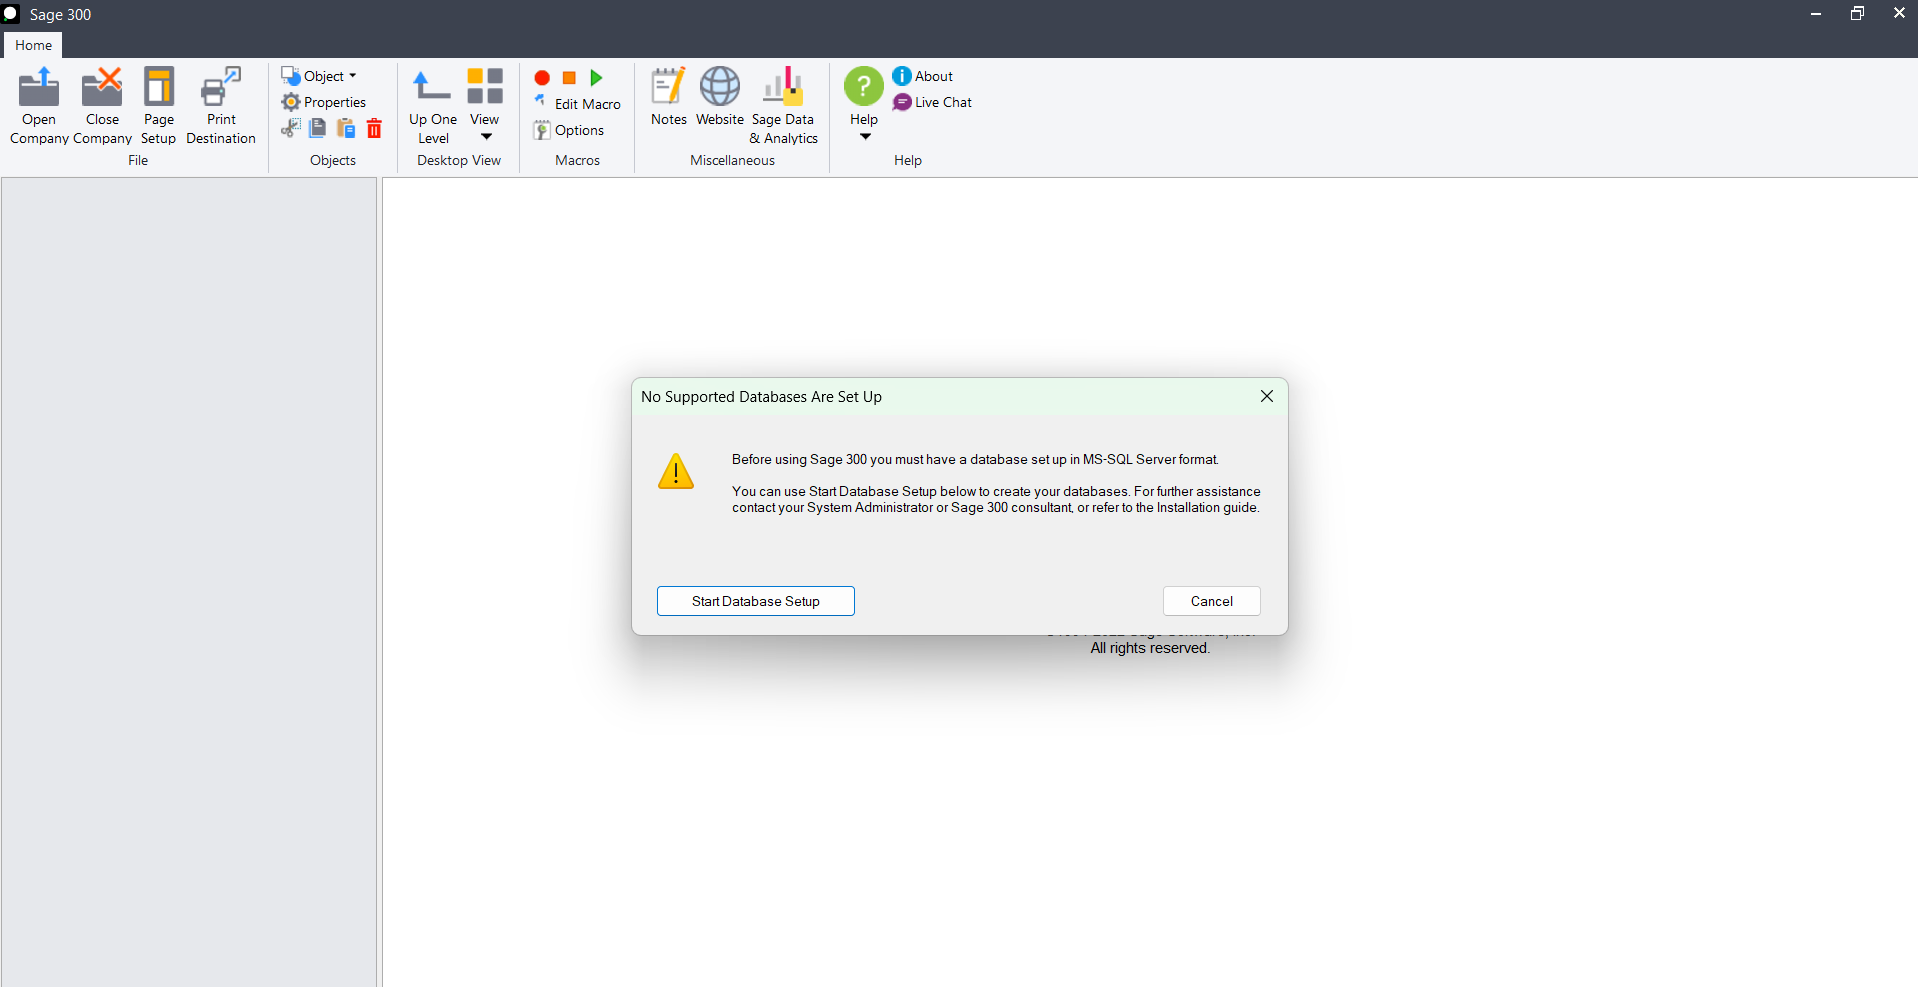 To address the database setup prompt issue, follow these step-by-step instructions:
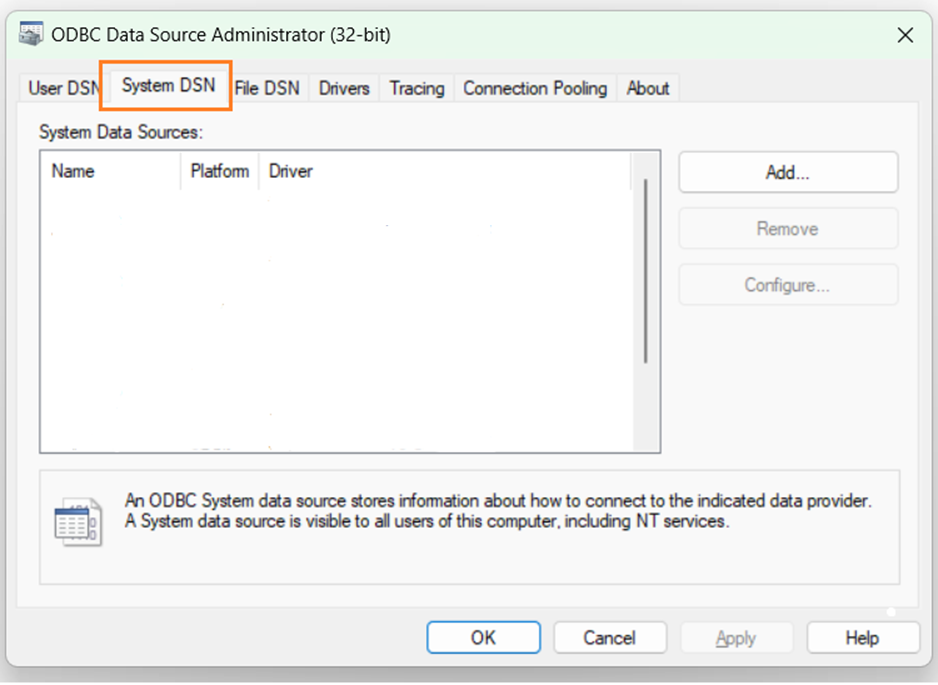
First, we need to create the new ODBC with the SQL server instance name and the default database should be of Vault database which stores the user information.
Open the 32-bit ODBC and an administrator and navigate to the System DSN tab.
Below is the image for your reference –
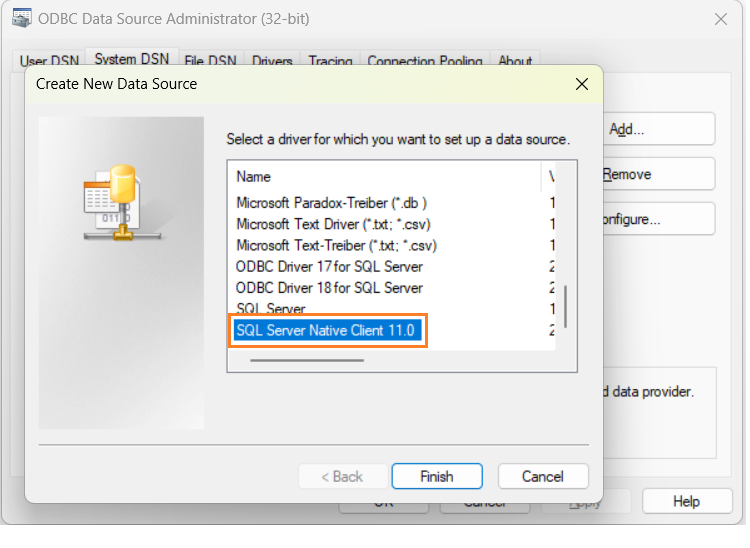
Now, we need to create a new ODBC connection with the SQL instance name by setting the default database as Vault in our case we have created the database name as ‘Sage300Vault’. If there is already an ODBC connection with the SQL instance name, then we need to edit the same.
Go to the System DSN tab >> click on Add >> select the ‘SQL Server Native Client 11.0’ driver.
Below is the image for your reference –
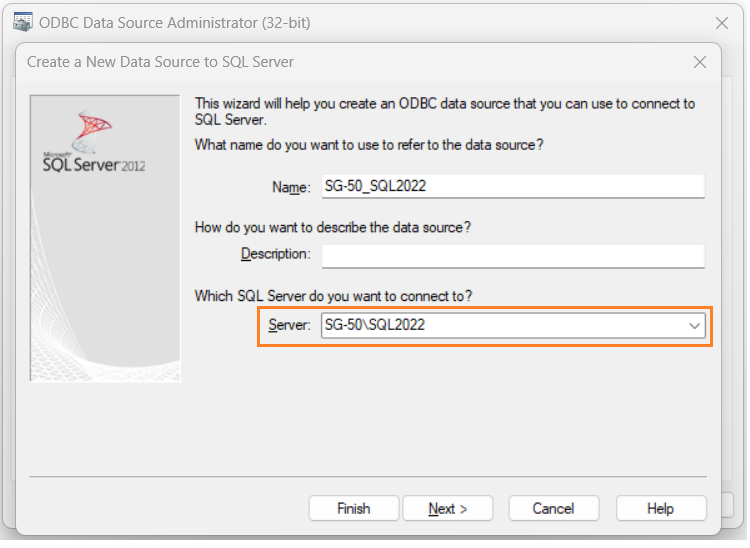
Now, enter the SQL server instance name and then select the default database as Vault in our case the database ID is ‘Sage300Vault’.
Below is the image for your reference –
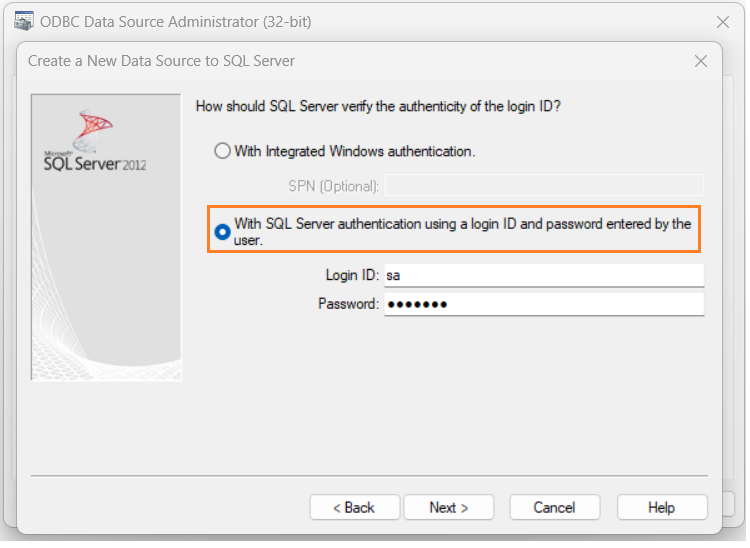
Click on the Next button and proceed by selecting the SQL Server authentication and entering the credentials.
Below is the image for your reference –
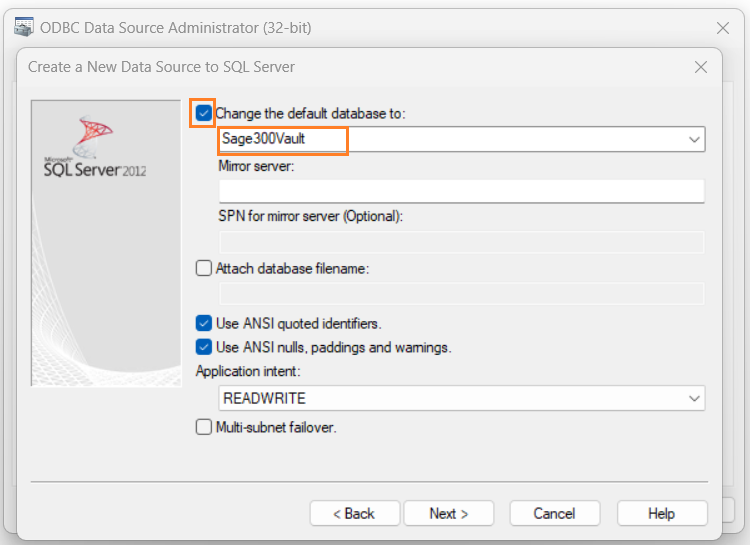
Click on the Next button tick the check box on ‘Change the default database to’ and select the Vault database i.e. Sage300Vault database.
Below is the image for your reference –
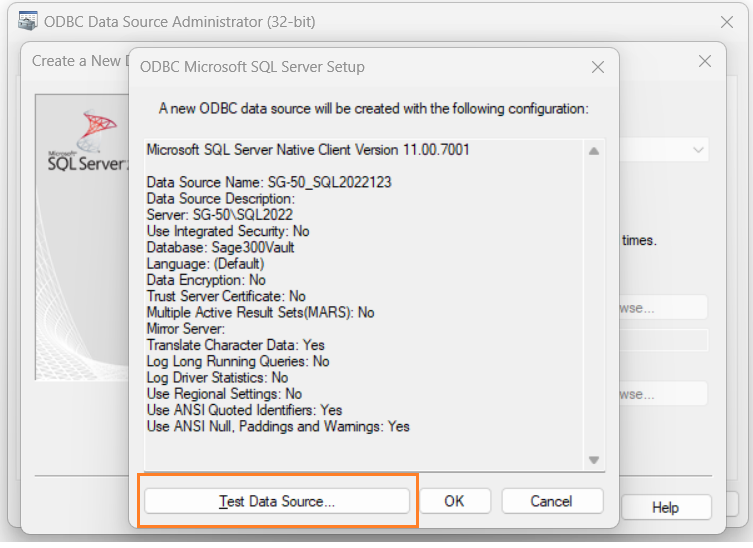
Following through by clicking on the Next, then click on the Finish button and lastly click on the Test data source button to check the connection.
Below are the images for your reference –
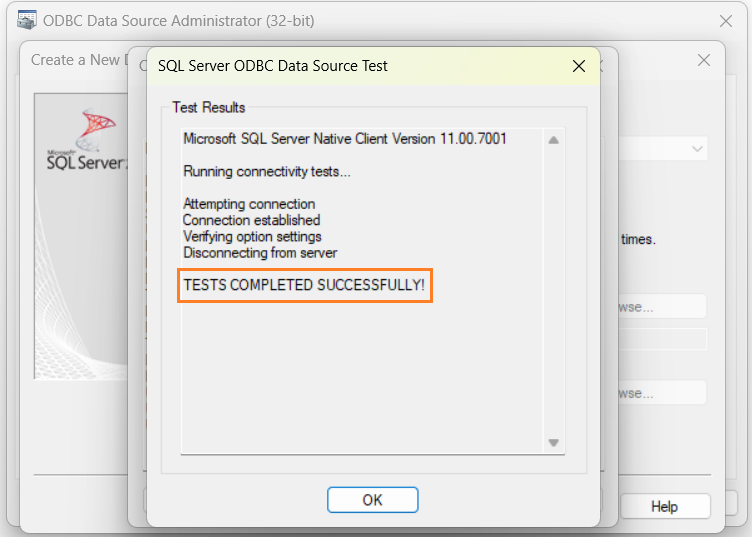
By completing these steps, you can resolve the database setup prompt issue and seamlessly utilize the Sage 300 application on the terminal server without further interruptions.