Many organizations deal with sensitive products that can turn hazardous when consumed by humans after their expiration. A few examples of such products are packed food and pharma products.
You may have seen an expiry date, and the manufacturing date is always mentioned on such products to keep the end customer well-informed before buying it or consuming it.
Once these products are in the markets and are expired before it is sold to customers, they are returned to the retailer or distributor by the retailer, which leads to additional expense for such products return process.
If any end customer misses checking expiry details and buys such a product, it will pose a significant threat to his life, and law enforcement will come into the picture.
Lot and Sub Lot expiry Management in Sage X3
- Hence, it becomes necessary for organizations while manufacturing such products to have a control system that possesses expiry date management in such a way that system will restrict the user in the 1st place itself while making an outward entry of such products.
- Expiry date management is a salient feature of Sage X3. It allows you to manage your inventory as per LOT/Sublot expiry wise.
- The Expiration Control Management step-up is done at the master level of the product. In Product, the master user has to select the criteria which he wants to Control the expiration of the respective product.
- For setting up this user needs to navigate to —
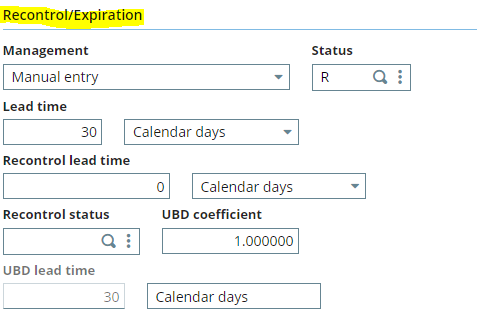
Common data → Products → Recontrol/Expiration
The following data has to be entered into the fields: –
-
Management Tab: – Based on the requirement user can select the management of the Expiration. In this case we are selecting manual entry as we are manually entering the data.
-
Status: – Usually there are 2 type of status that the products goes into once it’s expiration date is reached.
- R status: – The product status will get changed to rejected once the expiration date is reached.
- Q status: – The product status will get changed to quality once the expiration date is reached.
-
Lead Time:- It is the time the product will expire after receiving the product via Receipt or after Production.
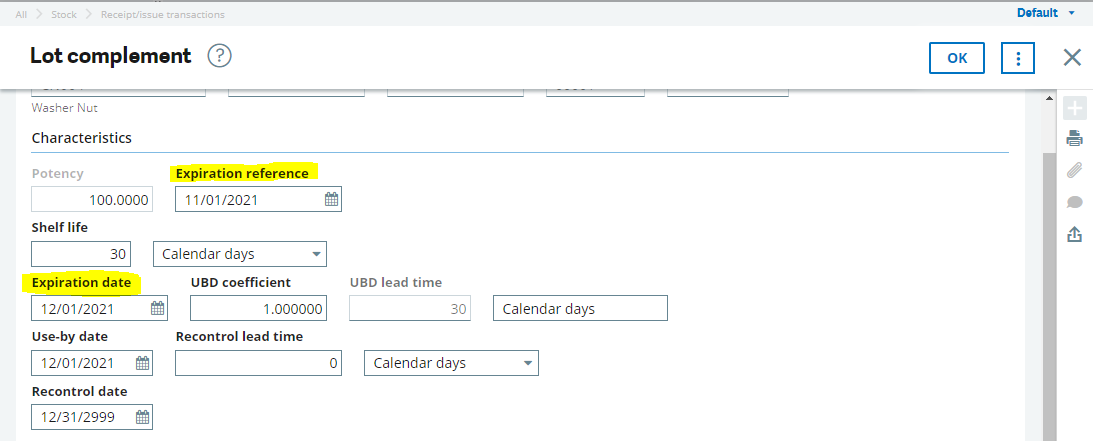
Once the setup is complete create a Purchase order and receive it.
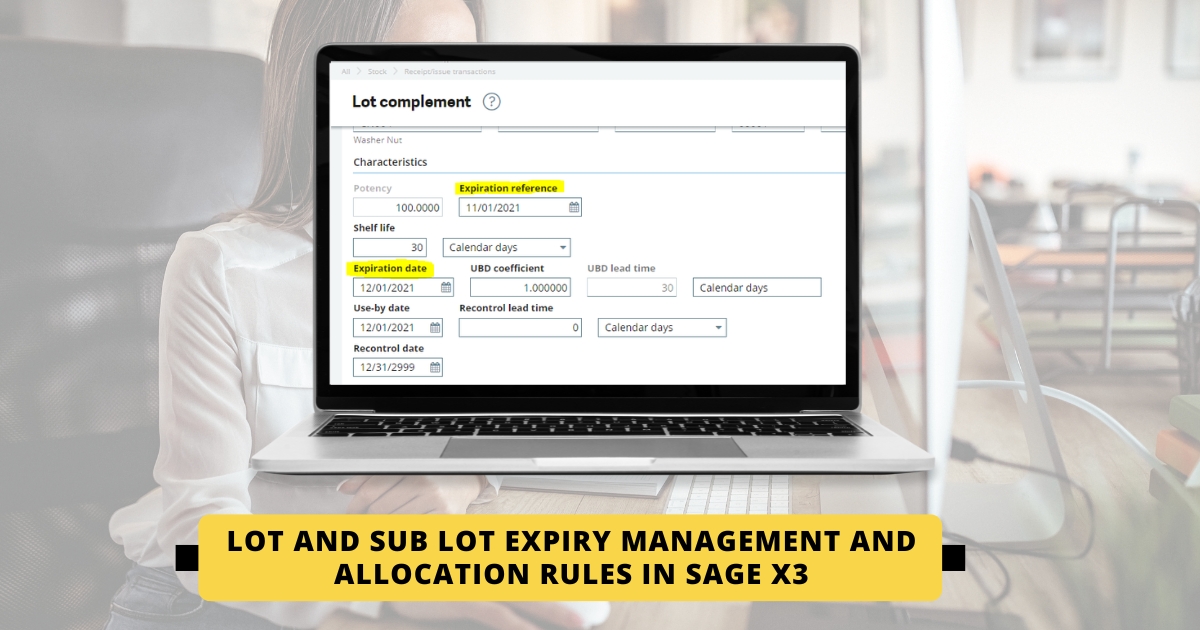
- While receiving the product the system will pop up a screen where the details of expiration date will be auto calculated based on the receipt date. In this case we have created the receipt on 11/01/2021 then as per the 30 days expiration set by us at master level system will calculate expiration date as 12/01/2021.
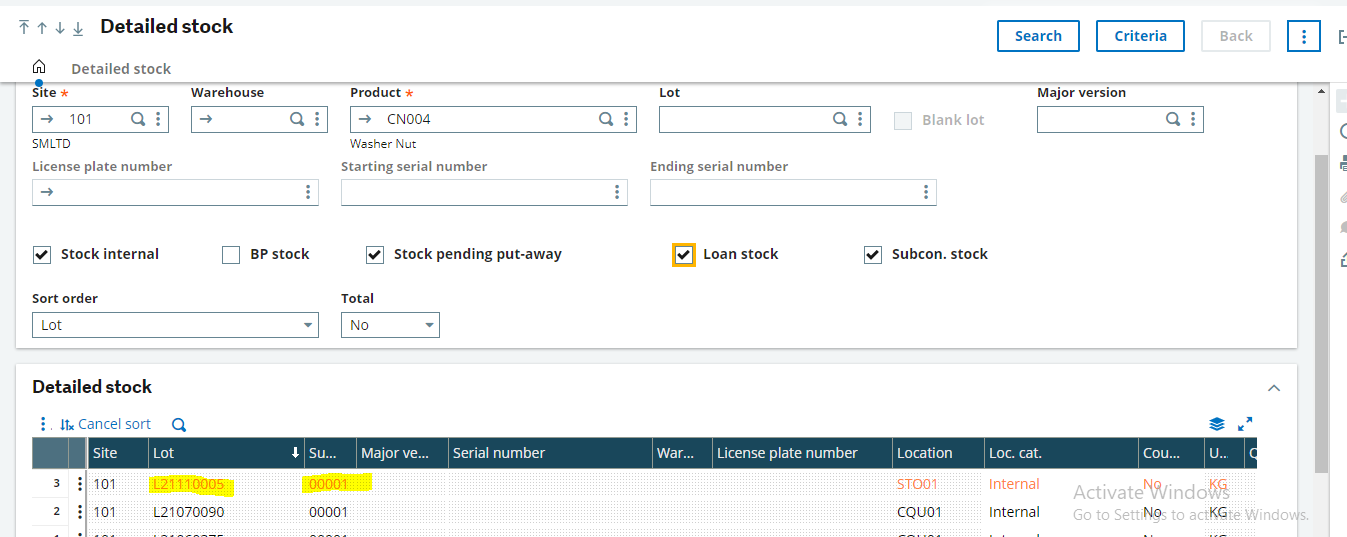
- After expiration date the if we check the Product details in the stock enquiry then the Product details will be highlighted in ‘red’ stating that the product has expired and the user can no longer use the same for any other purpose/Transaction.
Sage Software Solutions is a leading IT company with an array of advanced ERP Software solutions. Our proprietary products — Sage X3 and Sage 300 will help you cut your operational expenses, improve business productivity, increase operational efficiency, forge robust customer relationships, and strengthen association with vendors, suppliers, and distributors. So, if you are looking to reinforce your business fundamentals and emerge as an industry leader, then please schedule a call with one of our sales representatives.


