To fix bugs in Sage X3, it’s important to upgrade the application to the most recent patch for the sage x3 version.
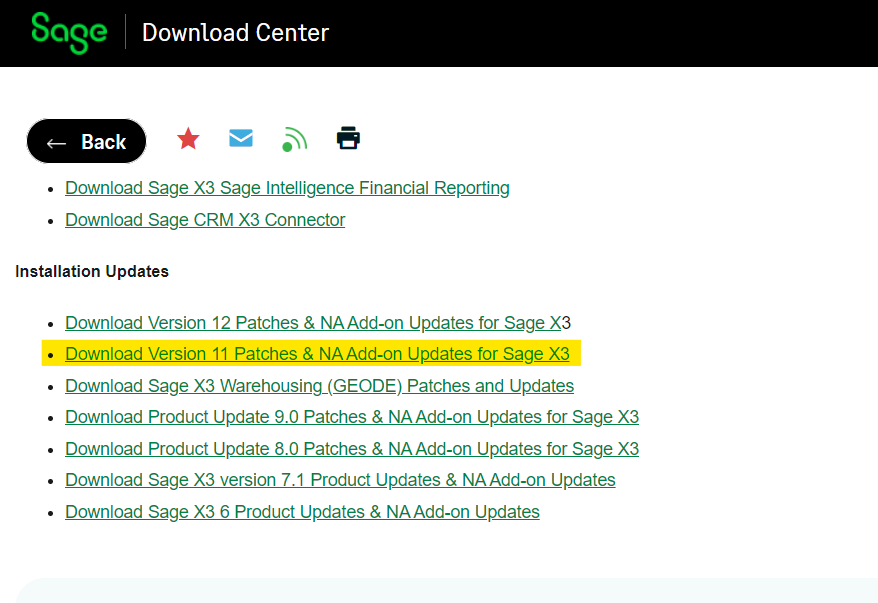
Check online for the latest patch available for Sage X3 version 11.
Note: You should check patch information before starting the activity and upgrading patch one by one i.e. 18 to 19,19 to 20….is recommended for Sage X3 version 11.
Patch Upgradation Activity for Sage X3 Version 11
- Pre-requisites before activity starts:
Downtime of 4-5 hours in an average is required for conducting whole activity. Ensure to take full server snap shot of system and SVG backup till the downtime starts. Once the server snapshot is done, Patch upgradation activity should carry out at server.
Let’s consider the process to upgrade the Patch for Sage X3 Version 11 for Patch 18
Step 1:
Login to Sage knowledge base and search for Sage X3 download Portal.
Go to: Refer below screenshot
Download the Pdf for installation guide as shown in below screenshot.
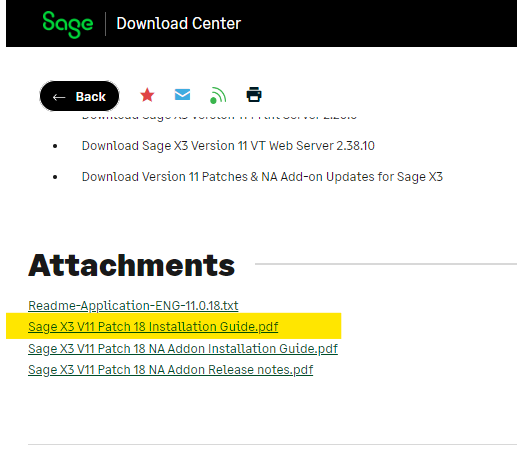
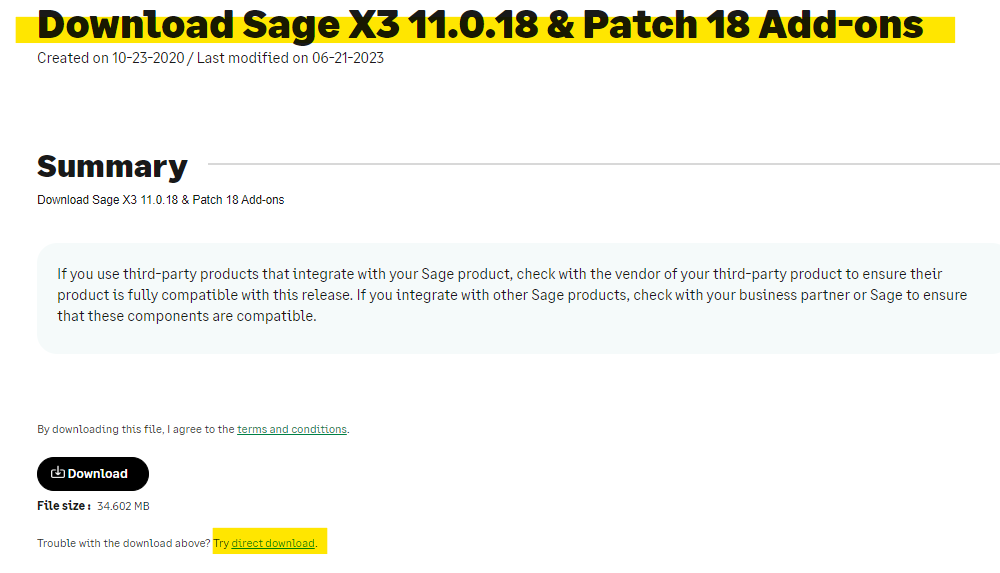
Also download “SageX3_Minor_Update_Package_11.0.18 ” as shown in below screenshot.
 Step 2:
 Step 2:
Download all the components recommended in Installation guide Pdf from Related Resources (refer below screenshot)

Step 3:
Extract all the.exe files downloaded and install their (.jar) files one by one in the order given in installation guide Pdf.
Make sure all components should be installed properly without any error.
We recommend to install Mongo Db version first and then safe x3_syracus version at last.
While installation, you have to select modify option for the version which is currently available in system which will be displayed on screen. We have to modify and update that version.
Always make sure about version name for all component updated name than already existed version, if recommended version is already available in system, there is no need to install that component.
Also Read : Lot and Sub Lot Expiry Management and Allocation rules in Sage X3
Step 4:
During installation,” Generate script file” option is displayed. Save each script file for each component.
Step 5:
Extract “SageX3_Minor_Update_Package_11.0.18” downloaded file which a main patch file.
Path: SageX3_Minor_Update_Package_11.0.18-> X3_ProductUpdate_11.0.18->FILEPATCH and INDPATCH folder
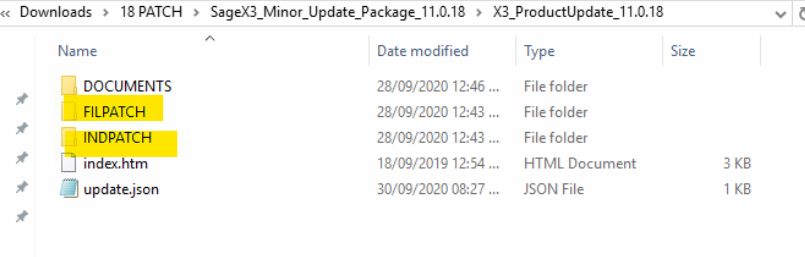
Open FILEPATCH folder and copy all data and paste all files into D:\Sage\X3V11\folders\X3\PATCH
(X3 folder location may be varied as per client)
Step 6:
Login into Sage application with super admin badge.
Select folder X3 (IMPORTANT)
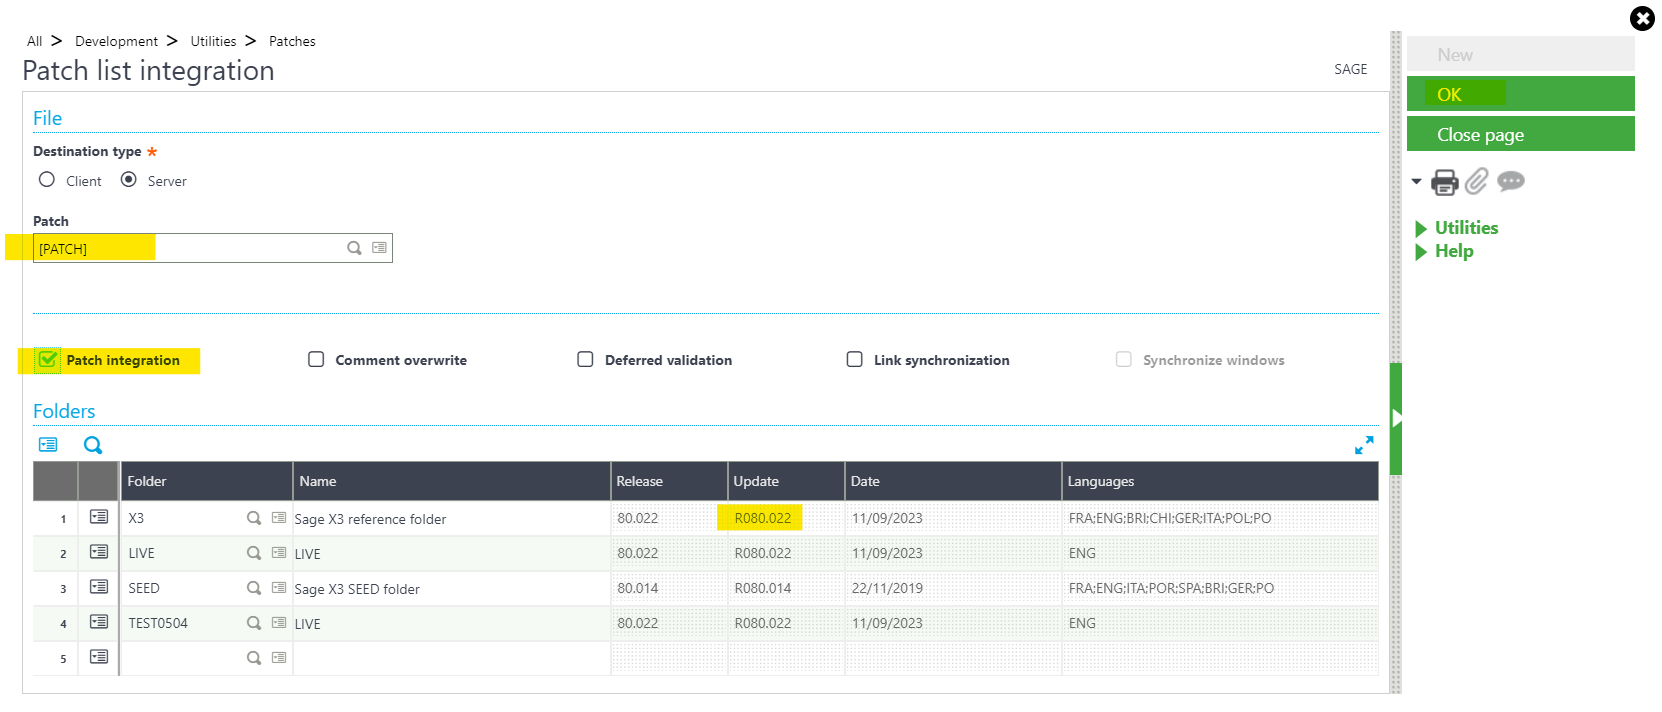
Go To: Development->patches->patch integration.
Select the folder for which patch upgradation is needed and select parameters as shown below.
Click on “OK”
Then activity will start executing.
Step 7:
Once the above activity is done, Log file will generate.
After that, repeat the same steps for INDPATCH folder.
Delete the files of FILEPATCH in X3 folder and replace them with data from INDPATCH folder.
Repeat the same process mentioned in step 6.
Once both the files got upgraded. Logout application and login again.
Check all screens, customization made into application.
This is how patch upgradation for Sage X3 version 11 is done.
- Difficulties you may face during above activity:
Due to some runtime task and services, application does not work.
Check below points:
- Check the all services (Syracus, Mongodb, x3v11……etc.) and if require,Restart them.
- Check Task manage and Clear. adonix file, . Node file which are running in background.
- Restart the server.
- Re-configure SQL data base.